Putting the sides on the work bench
|
Sign
Guestbook
View
Guestbook |
    |
|
| Remove all C-clamps. Place the spare 2x4 aside. |
Putting the sides on to check alignment
|
| Lean one of the A-frames up against a wall, or have a helper hold it.
Place the other A-frame out of the way. Lift up the end of the end of the work-surface
that matches the vertical A-frame and place the work surface on the rail prepared for it.
Make sure that the back of the work surface lines up with the back of the A-frame. Use a
pair of C-clamps to hold the work surface onto the A-frame. Use a C-clamp on both the
front leg of the A-frame, and the rear leg. Place the other A-frame near the other end of
the work-surface. Lift up the work-surface and push the A-frame into place. Use another
pair of C-clamps to hold the 2nd A-frame in place. Use your square and level to adjust the
A-frames so they are vertical. Make sure the work-surface is both level and at a usable
height. If not, figure out why and fix it. |
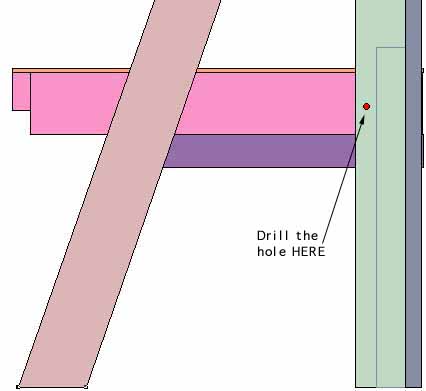
Drilling the hole for front A-frame bolt into the work-surface
Drill a 9/16ths inch hole through the front leg of an A-frame so that it passes through
the side of the work-surface. Drill the hole so that it is centered in both the A-frame
leg, and on the side of the work-surface.
Put a bolt into through the hole from the outside. Don't put the nut on. We'll need to
take the side off the bench in a couple of moments. Repeat this process on the other
A-frame. |
 |
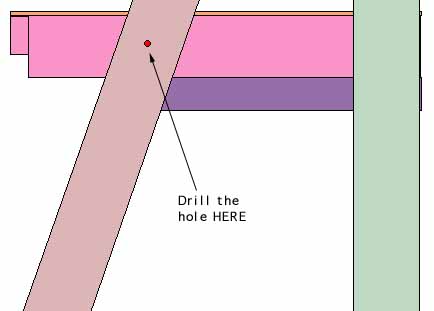
Drilling the hole for rear A-frame bolt into the work surface
This one is a little trickier. Most people won't have a drill bit long enough to go
through three pieces of 2x, and it is tough to put the bolt through once the hole is
drilled. So.. we have an easier way. Using your 9/16ths inch bit, drill through the rear
A-frame and into the work surface such that the hole misses the 2x4 work-surface leg
support. The hole should be about 3/4 of an inch from the front edge of the rear A-frame
2x6. You need to drill far enough that you start the hole into the work-surface. Your
drill be may not be long enough to finish the hole. Not a problem. |

|
|
| If your drill bit started the hole into the work-surface by 1/2" or
more, this will work perfectly. If not, you'll need to move the drill bit out of the chuck
of your drill a little, or get a new bit. |
| If your bit didn't go all the way through, take the A-frame OFF of the
work-surface. Use a pair of chair or some other support to keep the work-surface in the
air. What you are going to do is to use your drill to continue the hole through the 2x6.
When you are done with that, re-attach the A-frame to the work-surface. Put the bolt back
through the front A-frame hole. |
| Put a 5" bolt through the rear A-frame hole you just drilled. Finger
tighten the nut. Also put a nut on the front A-frame bolt and finger tighten. Don't use
tools to tighten the bolts yet. We'll tell you when. |
| Repeat this process on the other A-frame leg. Remove the C-clamps from
the front leg of the A-frames. |
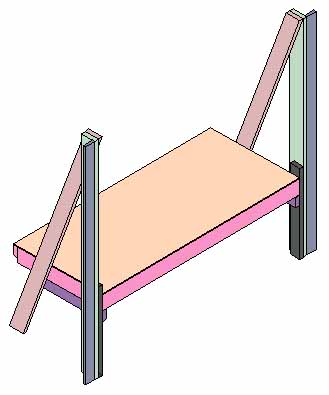
 This is what you have: This is what you have: |
|
|